Substrate preparation
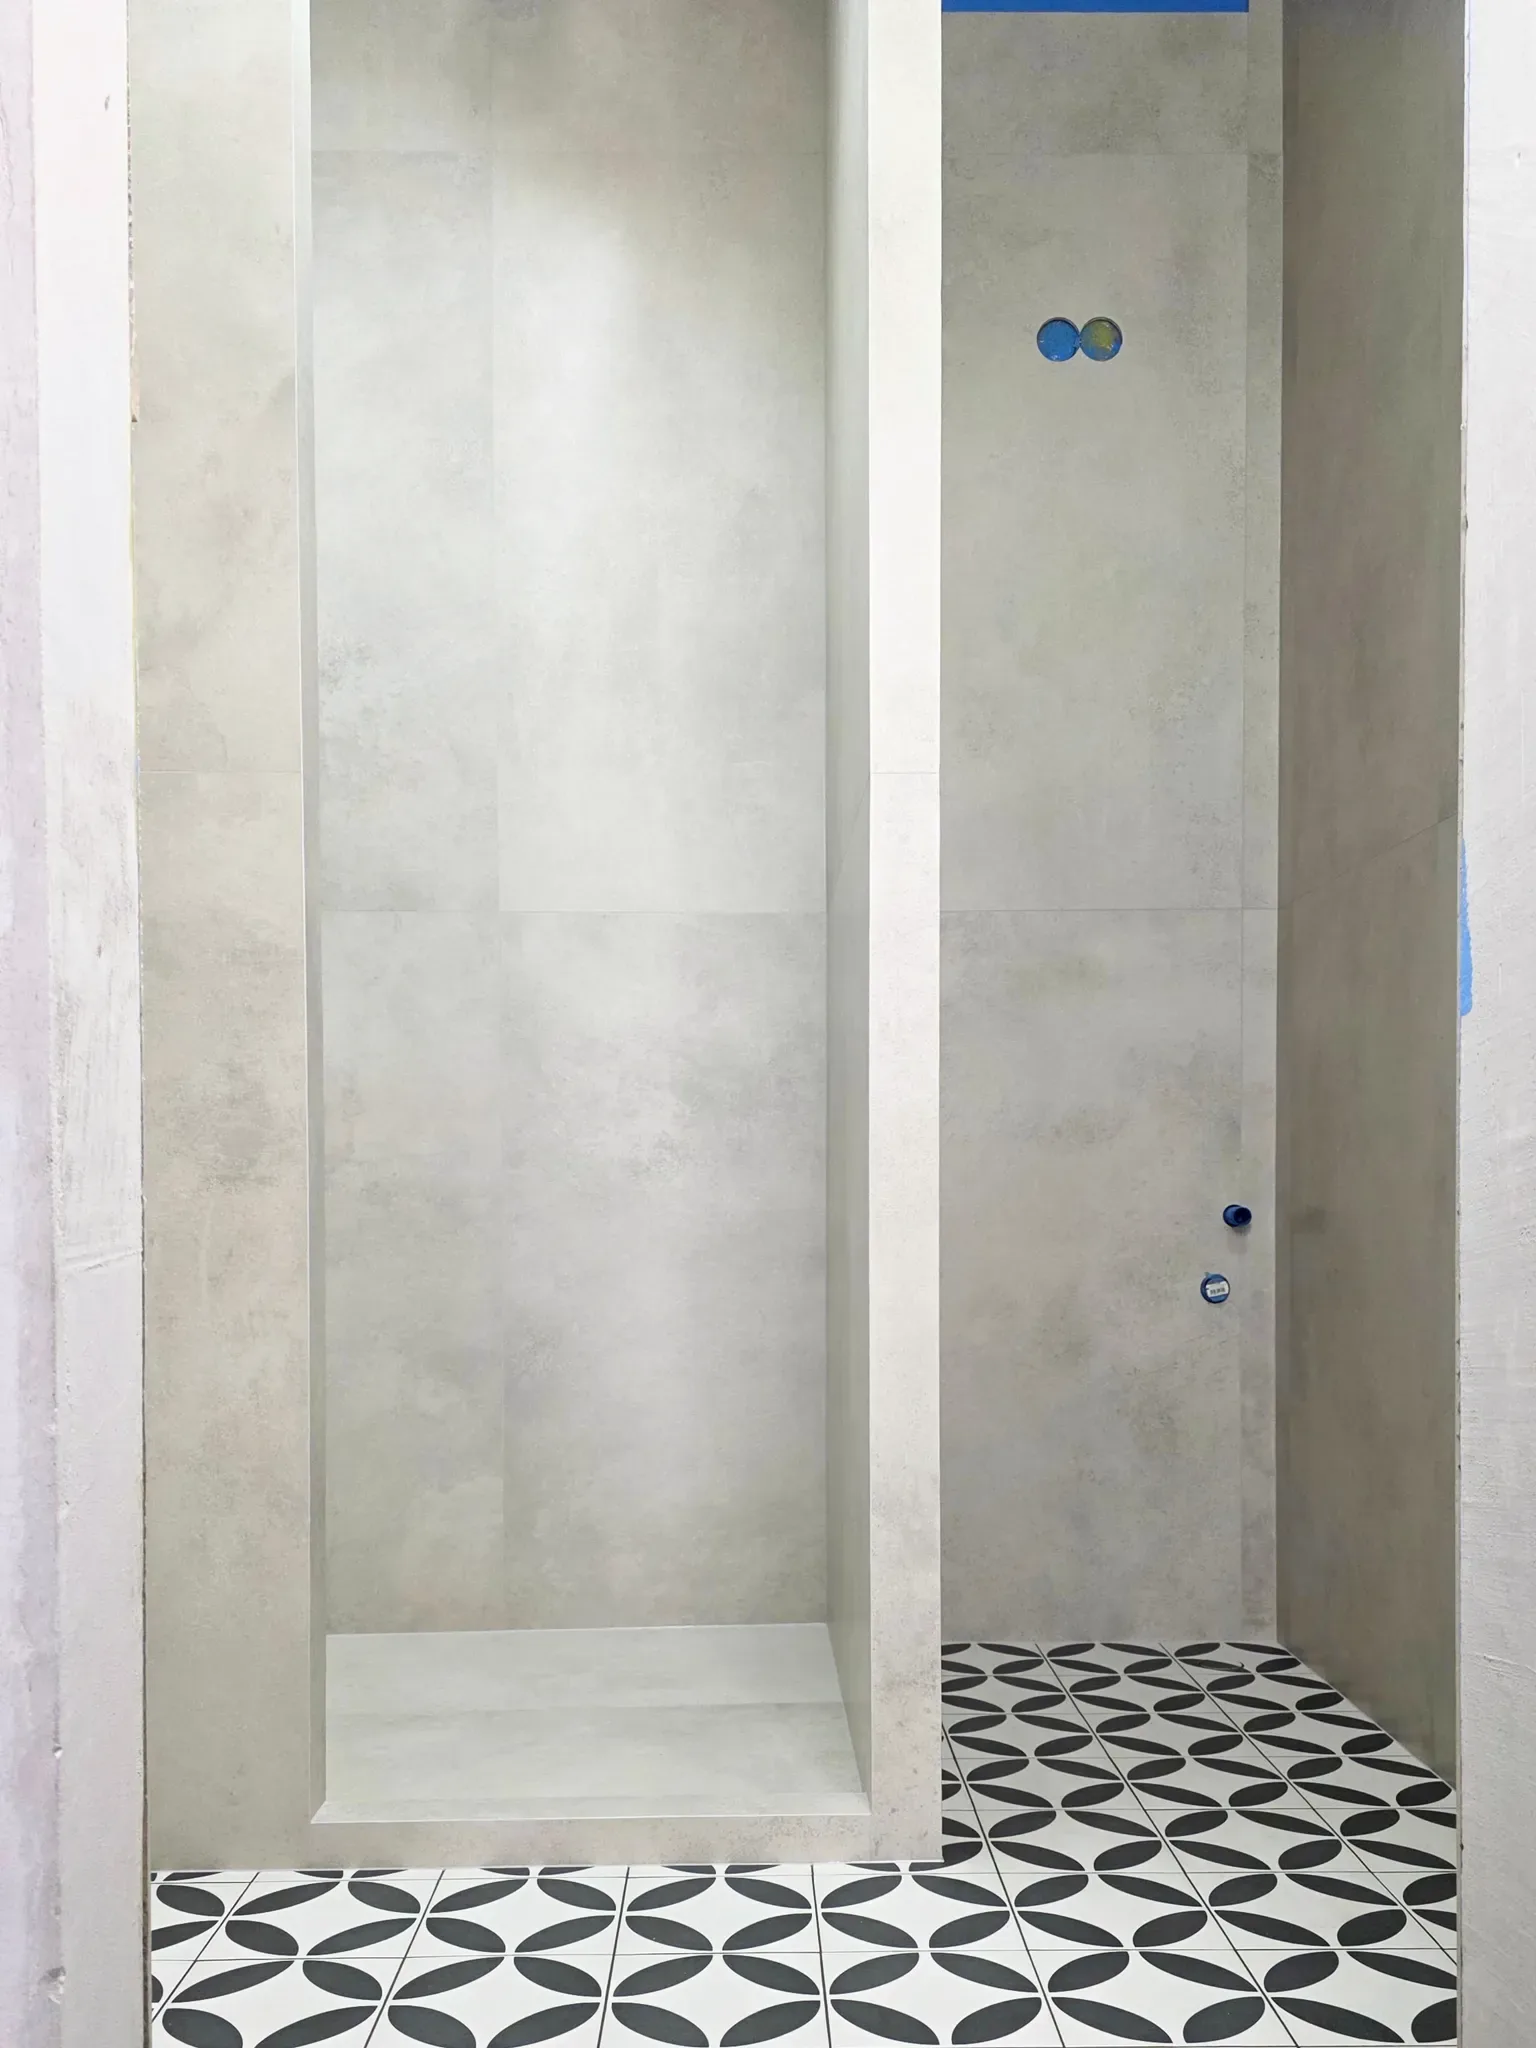
We checked wall and floor flatness, the niche, threshold and plumbing outlets.
Illustrative image
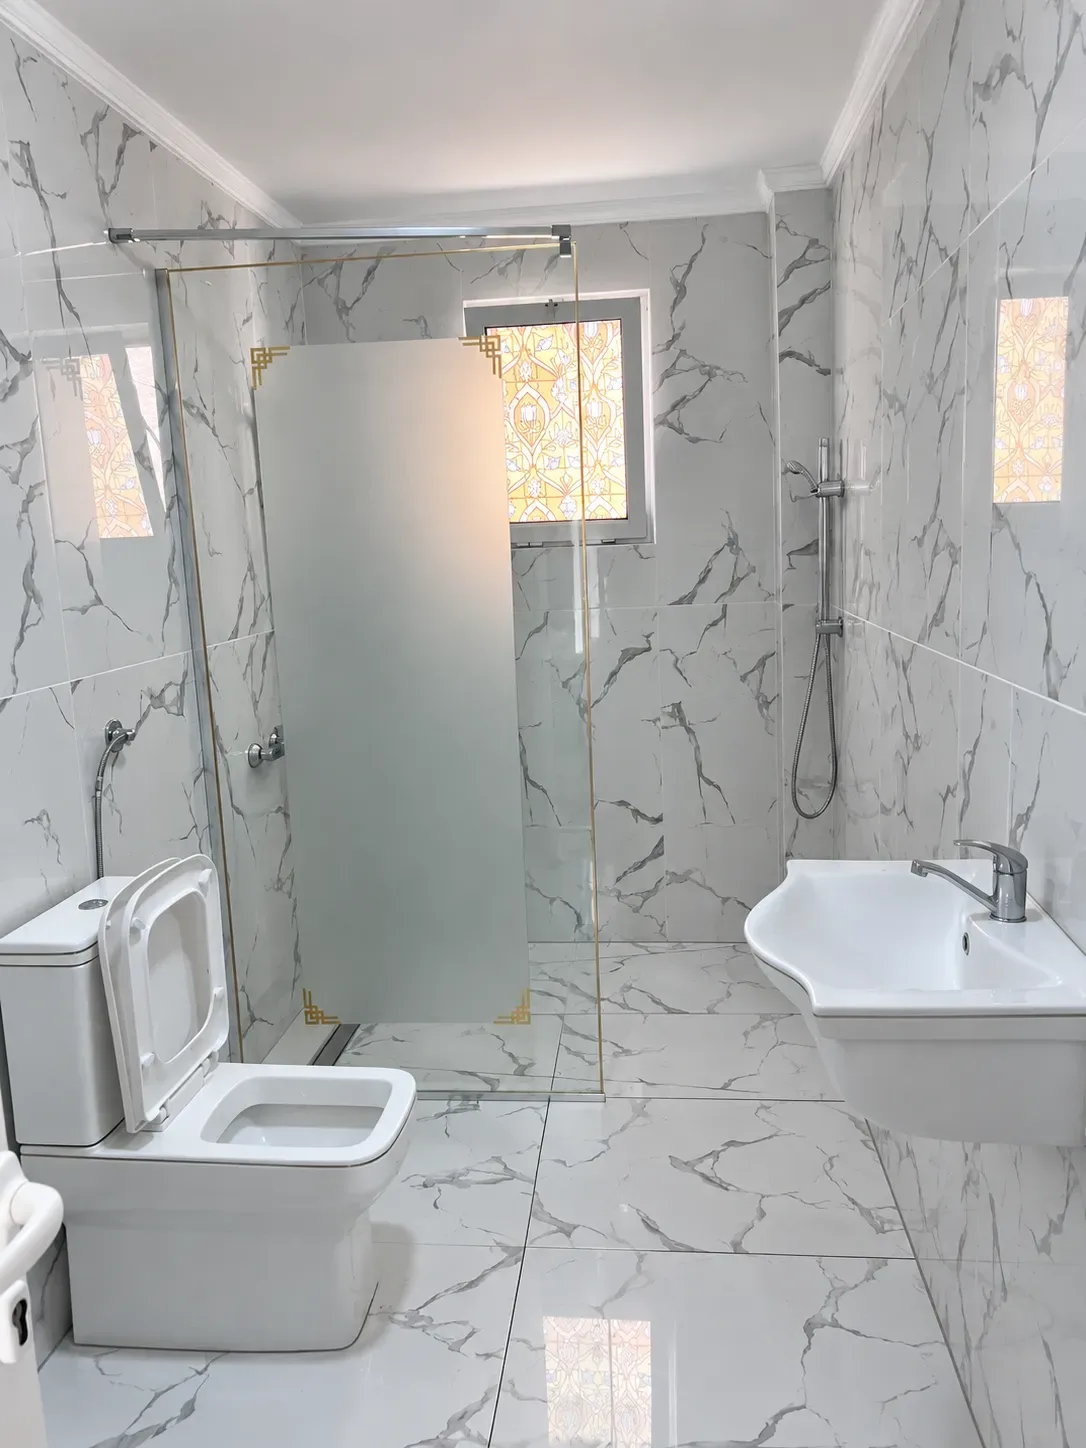
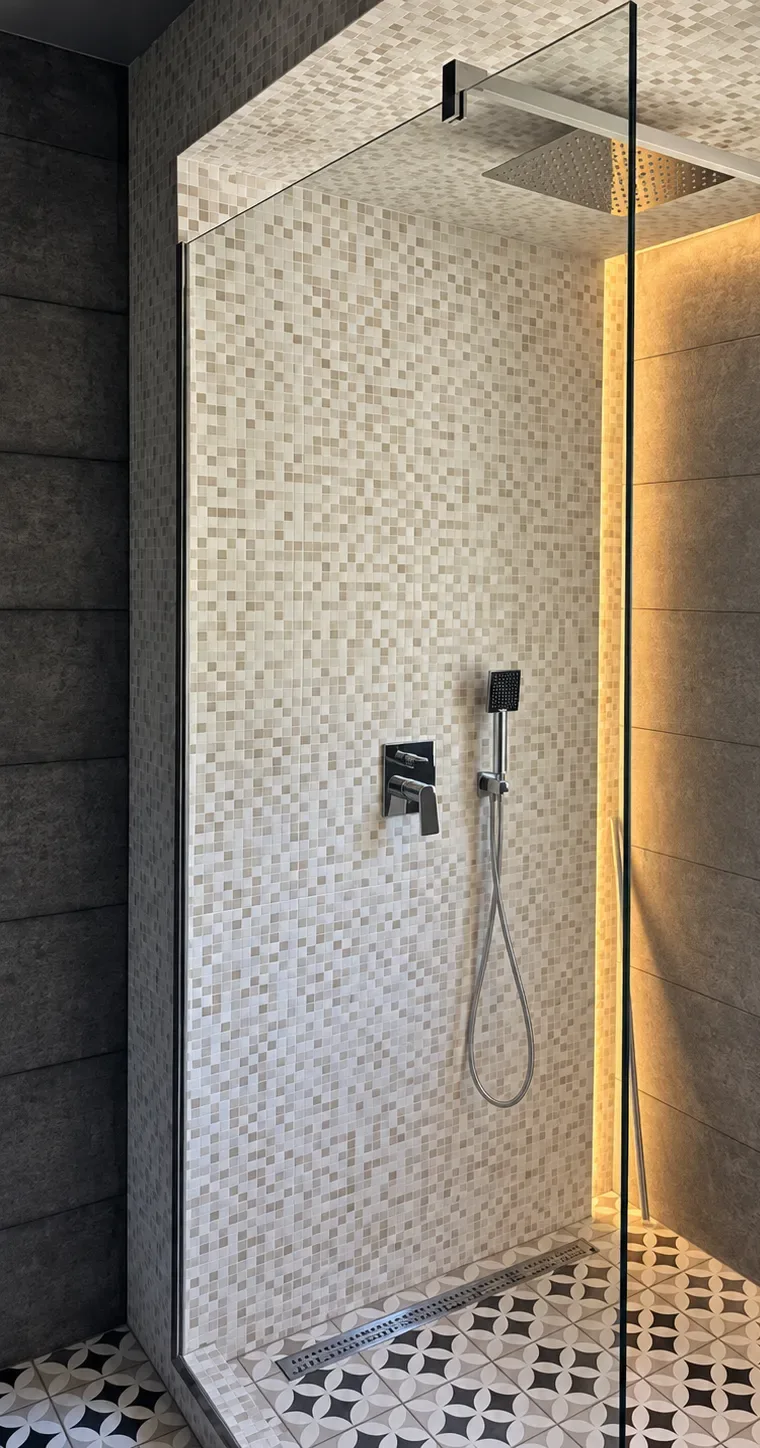
Finished shower area with a glass screen and rainfall shower.
Finished bathroom: grey 60 × 30 tiles by the window, a niche and a 20 × 20 tiled floor.
Tiling walls with 50×25 and 60×30 tiles and preparing the niche.
Forming the threshold and continuing the 20 × 20 floor tile pattern.
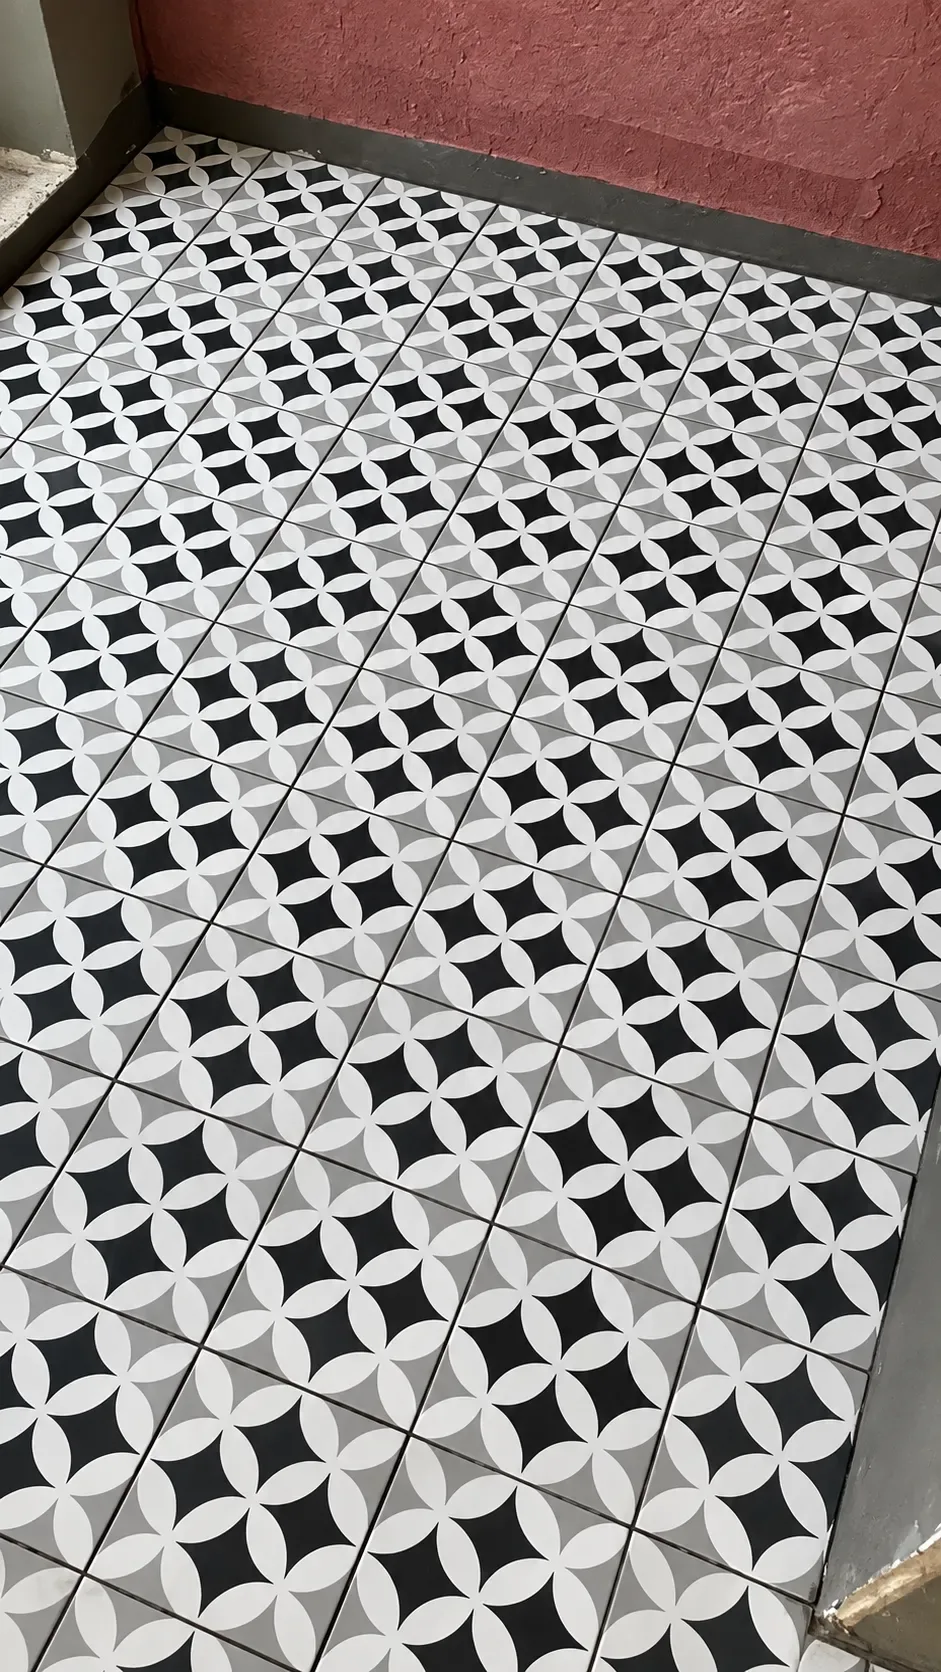
Even 20 × 20 tile layout with a repeating black-and-white pattern.
20 × 20 floor tile layout beside the prepared shower level.
Overall view of the geometric 20×20 floor after the main area was tiled.
Waterproofing and tiling a 32 m² bathroom area in Herceg Novi: 50×25 tiles and grey 60×30 tiles on the walls, with 20×20 floor tiles.
After waterproofing, we laid 50×25 and 60×30 wall tiles and 20×20 floor tiles. We paid particular attention to the niche, window, drain and glass junctions.
50 × 25 tiles on the bathroom walls.
Grey 60×30 tiles on selected wall surfaces.
20×20 tiles with a geometric pattern on the floor.
Wet-area waterproofing, sealed junctions and linear drain detailing.
From substrate preparation and waterproofing to laying three tile formats and checking junctions.
We checked wall and floor flatness, the niche, threshold and plumbing outlets.
We waterproofed the wet area, treating the corners, drain and junctions.
We arranged the pattern across the floor and threshold with consistent joint spacing.
We laid 50 × 25 tiles and grey 60 × 30 tiles, checking flatness, corners and joints.
We finished the niche, window, linear drain and plumbing outlets, and checked joints and junctions with the glass.
The waterproofing layer must remain continuous at corners, the drain and around outlets.

The 50 × 25, 60 × 30 and 20 × 20 formats require individual layouts with coordinated joint lines.
Precise cuts without narrow inserts are needed around the window, niche and glass screen.