Substrate inspection
We checked wall and floor flatness, corner geometry and plumbing outlet positions.
Illustrative image
Overall view of the completed bathroom: walls and floor clad in large-format white marble-effect porcelain tiles.
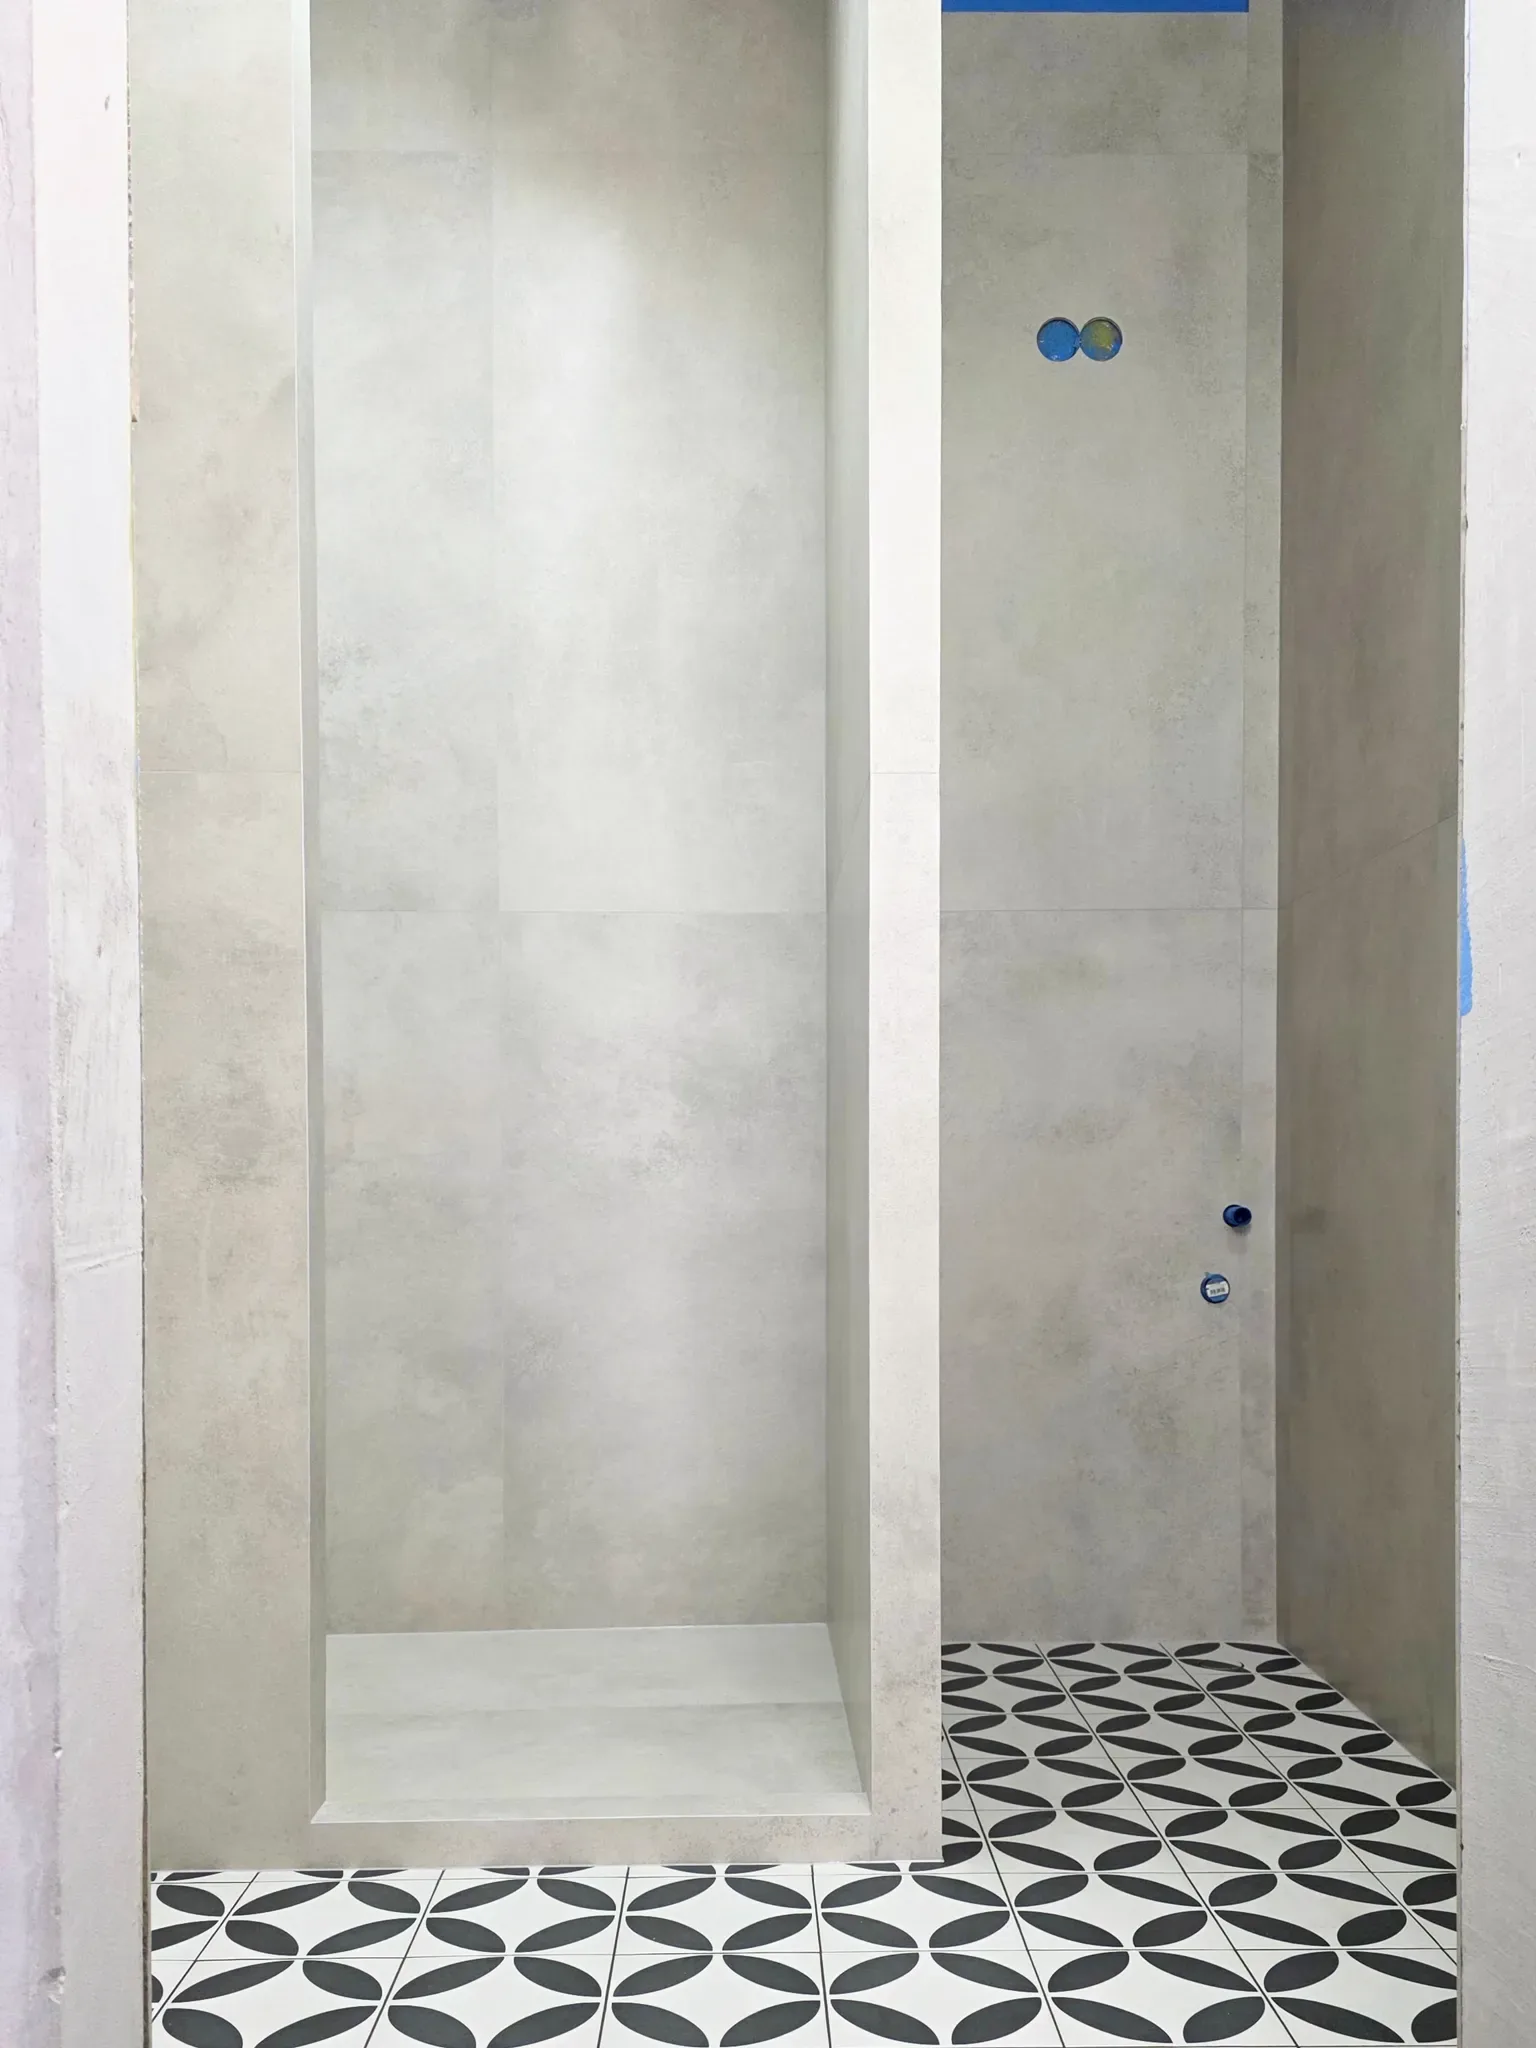
Preparing the room for tiling: checking the substrate, corners and planned service points.
Laying tiles with joint checks and a tile levelling system.
The internal corner uses large tile sections rather than numerous small inserts.
Precise cutting around the socket, plumbing outlet and junctions.
Washbasin and mirror area after the wall cladding was completed.
Wet-area waterproofing and tiling 23 m² of walls and floor with large-format white marble-effect porcelain tiles. We planned the layout, made cuts and finished service outlets.
The wet area was waterproofed before tiling. Large slabs were laid out across the walls and floor, accounting for corners, the window and service outlets.
Light, large-format white marble-effect porcelain tiles: 23 m².
Wet-area waterproofing with treatment of corners and junctions.
Planning slabs across the walls and floor, coordinating the pattern and joint lines.
Cutting around the window, plumbing outlets, sockets and taps.
From checking the substrate and waterproofing to planning the layout, tiling, cutting and checking the joints.
We checked wall and floor flatness, corner geometry and plumbing outlet positions.
We waterproofed the wet area, treating corners and junctions.
We planned the large slabs across the walls and floor to avoid narrow cuts in prominent places.
We laid porcelain tiles, checking flatness, vertical alignment, joint widths and drain positions.
We cut around sockets, taps and connections, and checked flatness, joints and junctions.