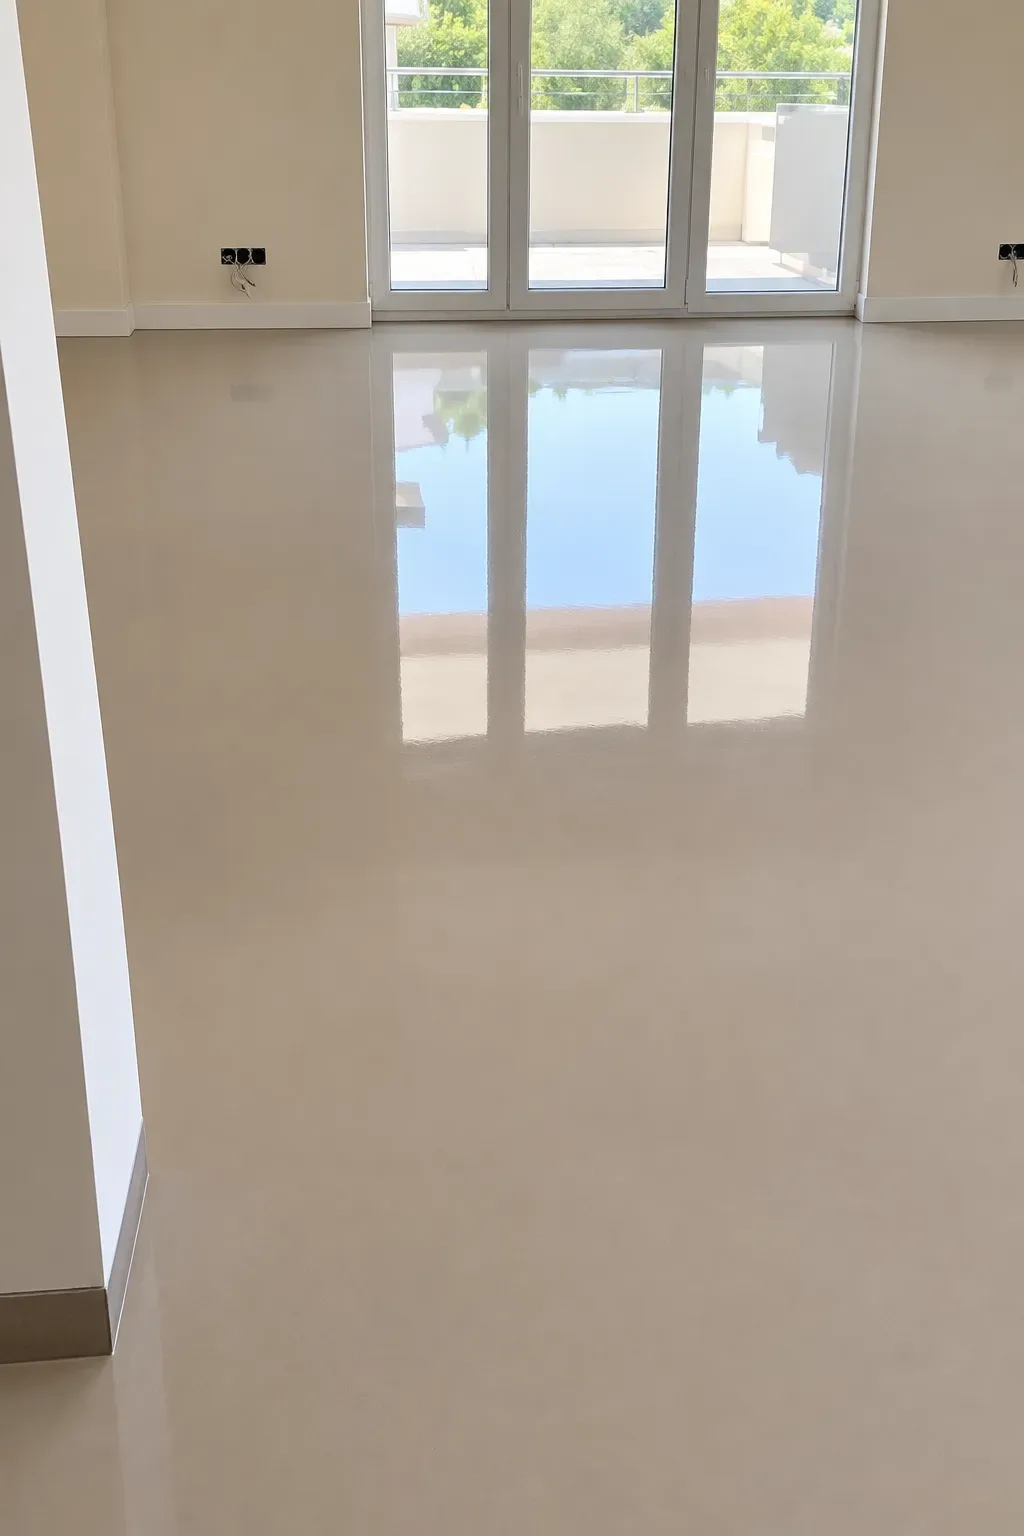
Substrate preparation
We cleaned the base, checked its flatness and applied primer.
Illustrative image
Overall view of the finished clinker tile floor.
Classic herringbone layout after grouting.
A level floor surface with consistent joint widths.
Tile layout with spacers during installation.
Close-up of the herringbone pattern on tile adhesive.
Installing spacers to maintain consistent joint widths.
Continuing the pattern consistently across the prepared base.
We laid 11 m² of 50×150 mm clinker tiles in a classic herringbone pattern. We set out the layout and maintained the pattern and consistent joint widths.
The 50×150 mm clinker tiles were laid in a classic herringbone pattern. Setting out the main axis and continuously checking the joints kept the pattern geometry consistent.
50×150 mm clinker tiles.
Classic herringbone layout with tiles meeting at 90°.
Tile spacers for consistent joint widths.
From checking the base and setting out the starting line to herringbone installation, pattern control and grouting.
We cleaned the base, checked its flatness and applied primer.
We set out the main axis of the room and made a trial layout, allowing for cuts along the walls.
We applied tile adhesive and laid the 50×150 mm clinker tiles in a classic herringbone pattern.
We checked the direction of the pattern, the level of the floor and the joint widths, using tile spacers.
After the adhesive had cured, we removed the spacers, cleaned the joints and filled them with grout.