Backsplash setting out
We set out the vertical clinker tile layout around the corners and sockets.
Illustrative image
Overall view of the finished countertop, edges and peninsula side with a microcement finish.
Finished coating around the sink and junction with the clinker backsplash.
Finished work surface and vertical clinker layout at the internal corner.
Hand-applied microcement pattern on the work surface and finished edge.
The junction between the countertop and finished backsplash protected with masking tape.
Applying microcement to the work surface.
Microcement finish on the edges of the sink cut-out.
Work surface and sink cut-out during the microcement finishing stage.
We applied two coats of microcement to the kitchen work surface, edges and peninsula side. We installed 50×300 mm clinker tiles on the backsplash.
We finished the work surface, edges and peninsula side with two coats of microcement, sanded them and applied lacquer. The backsplash was tiled with 50×300 mm clinker tiles.
Two coats of light-grey microcement with a varied hand-applied pattern.
Microcement on the work surface, edges and outer side of the peninsula.
Sanding and final protective lacquer.
Terracotta-coloured clinker tiles measuring 50×300 mm.
Vertical clinker layout with light-coloured grout joints.
From setting out the clinker backsplash and protecting the junctions to two coats of microcement, sanding and the final lacquer.
We set out the vertical clinker tile layout around the corners and sockets.
We installed the 50×300 mm clinker tiles, completed the cuts and filled the tile joints.
We protected the adjacent surfaces and masked the edge by the backsplash.
We applied two consecutive coats to the work surface, edges and outer side of the peninsula.
After drying, we sanded the finish and applied the final lacquer.

The microcement had to run continuously across the work surface, edges, peninsula side and the edges of the sink and hob cut-outs.
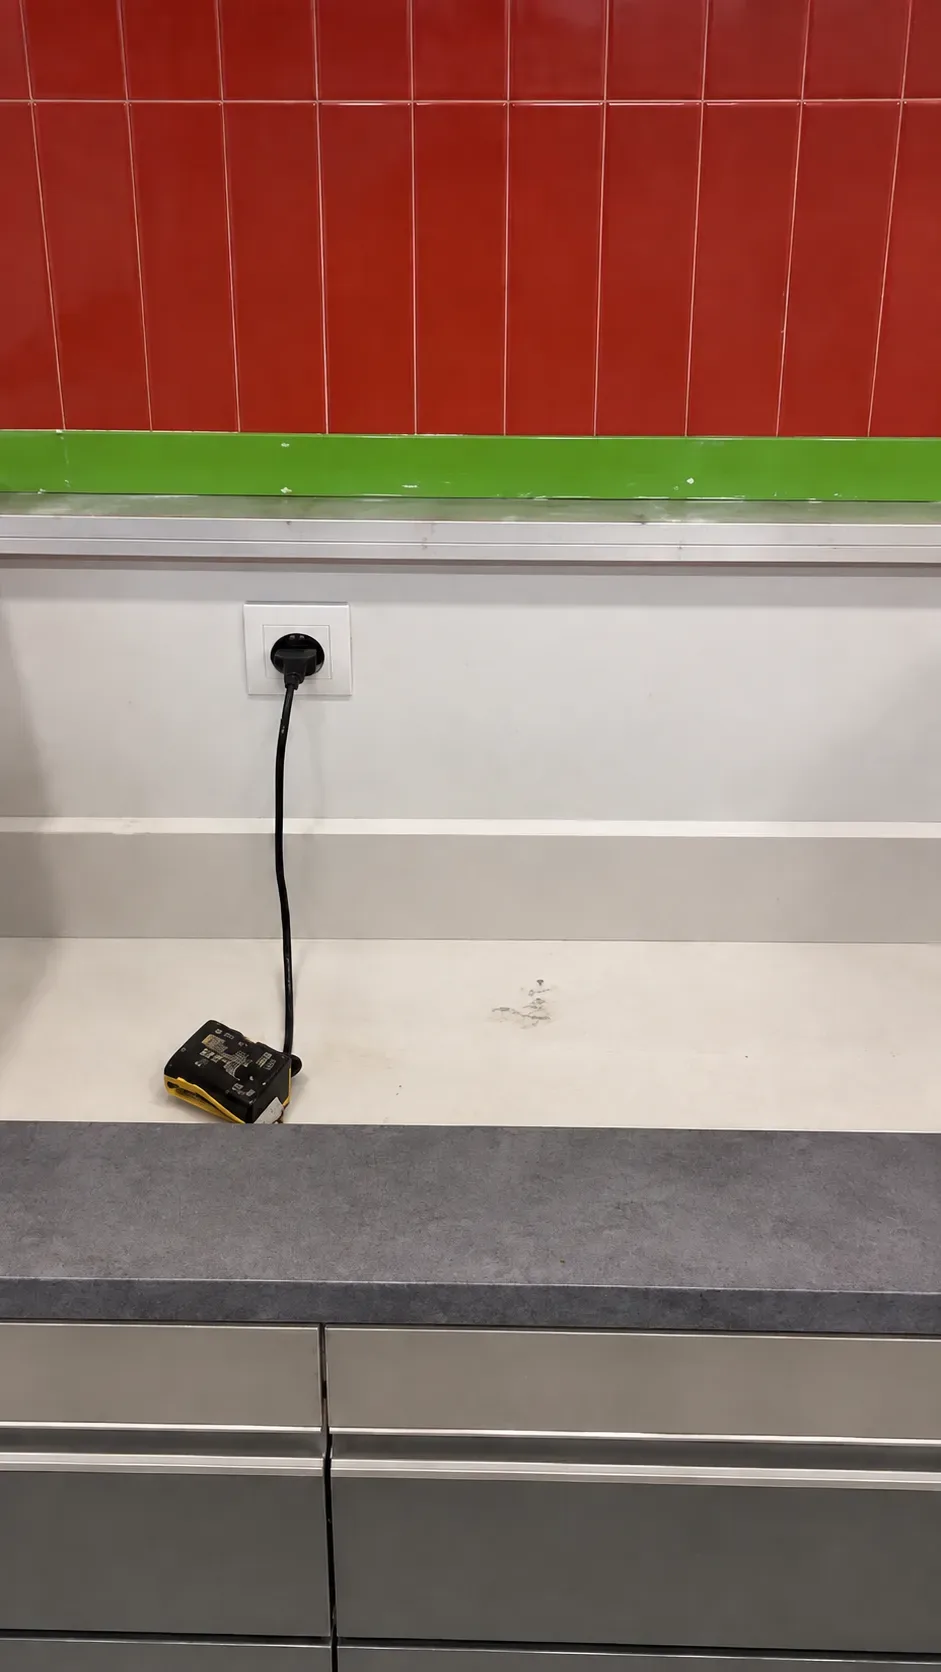
Before applying the finish, we protected adjacent surfaces and masked the countertop-to-backsplash junction.
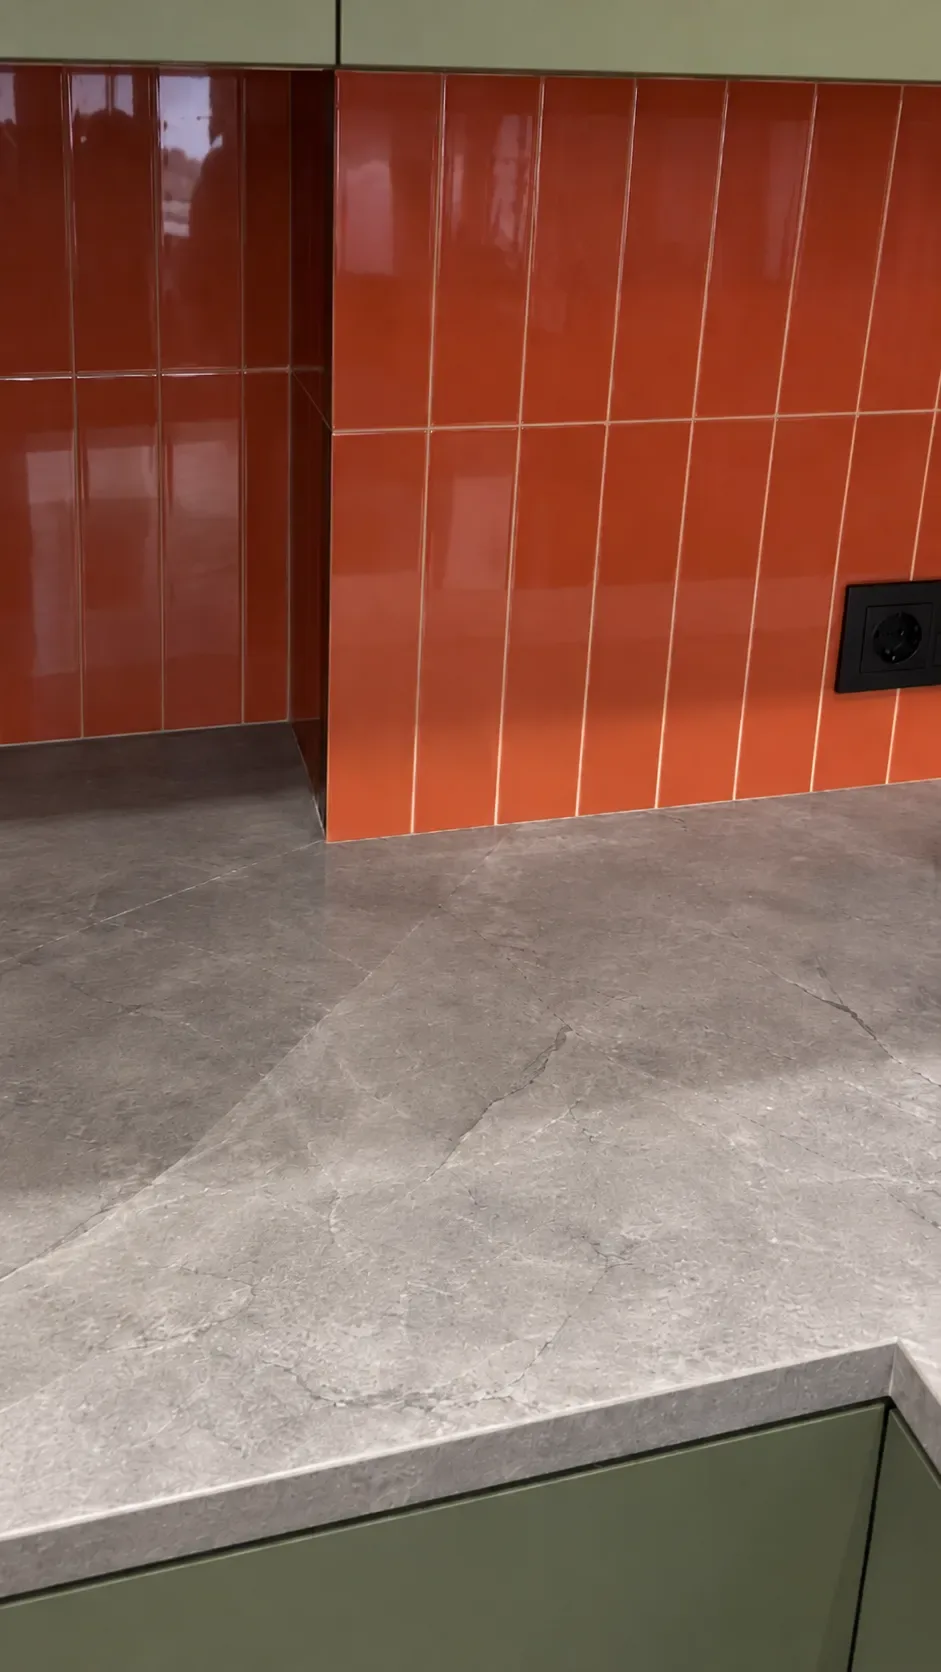
We coordinated the vertical clinker layout with the backsplash corner and socket positions while maintaining consistent light-coloured grout joints.