Preparing the wall and work area
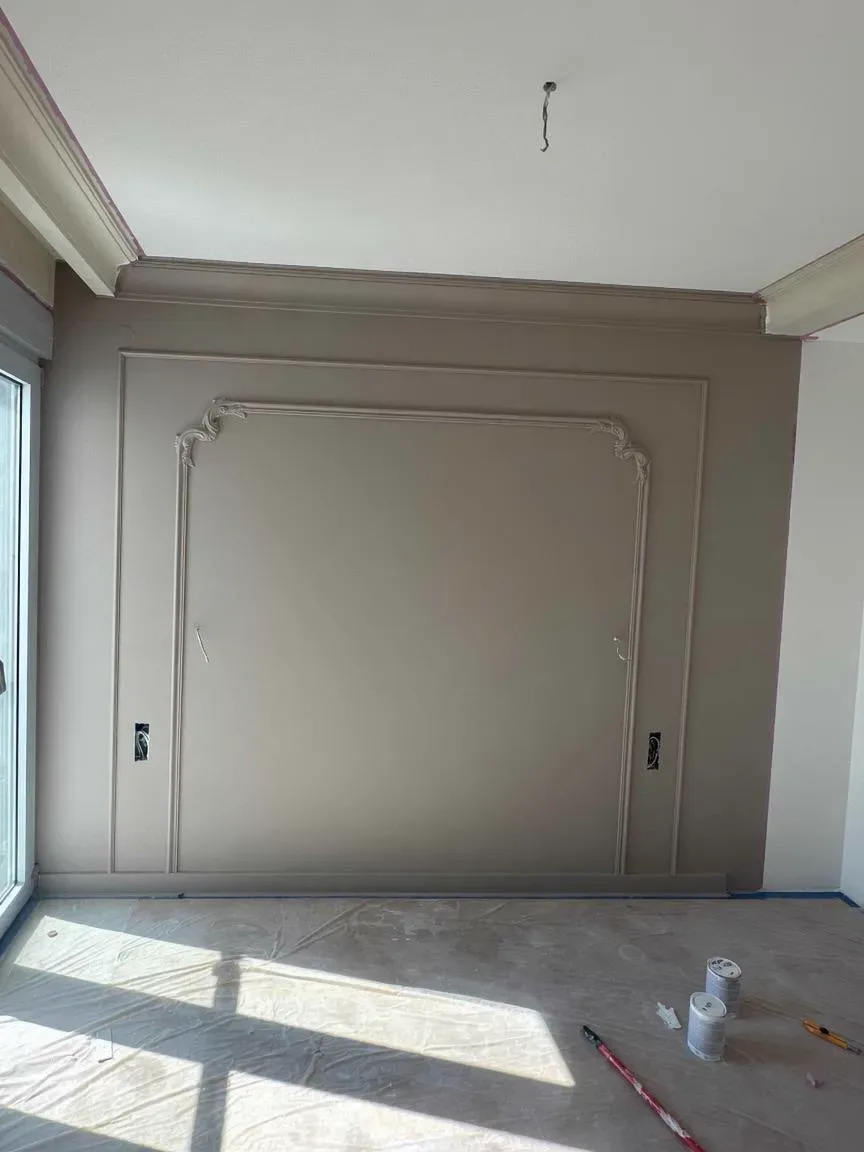
Before hanging the mural, we checked the wall plane, cleared the work area and protected the floor with sheeting to keep it clean while working with adhesive and wallpaper panels.
Illustrative image
Once hung, the pattern forms a continuous forest panorama from the left corner to the right wall section.
Work in progress: some panels are already hung, the floor is covered with protective film and the next panels are ready nearby.
Wide view of the room after aligning the mural image across the panels.
Hanging 7 m² of panoramic wall mural: wall preparation, panel layout and matching the forest pattern.
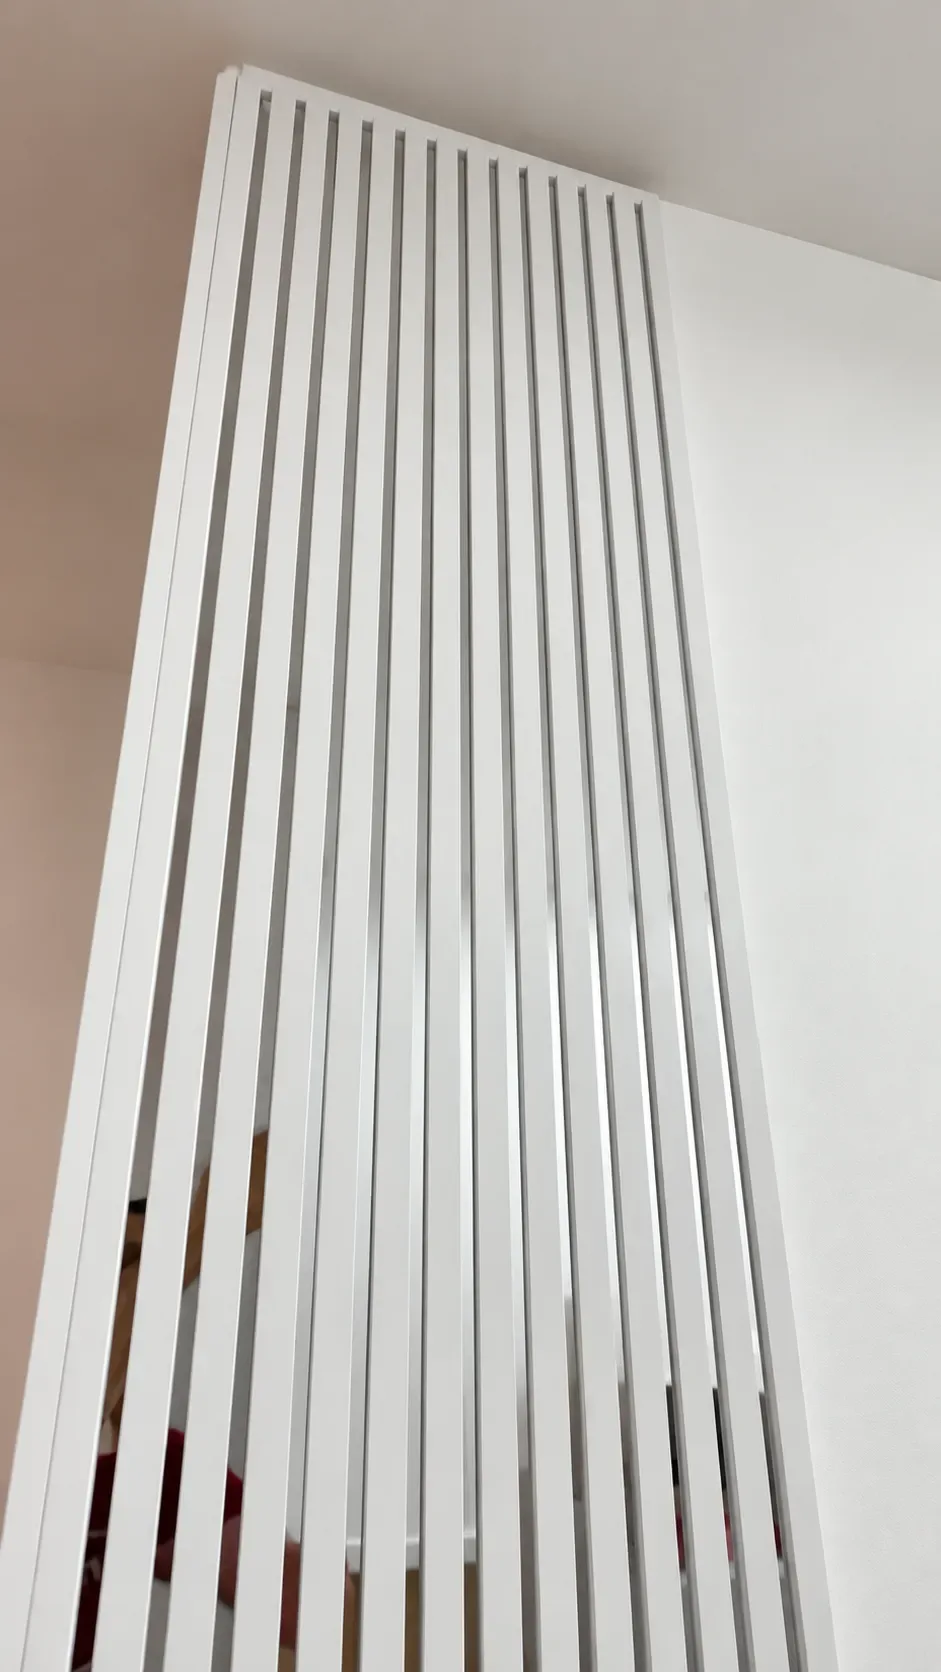
Texture, seams and junctions create a coherent finish. A seaside apartment has another important requirement: consistent ventilation.
Panoramic forest wall mural: 7 m².
Adhesive and materials are chosen for the wallpaper type and the prepared substrate's condition.
Protective floor film helps keep the work area clean during trimming and adhesive application.
Panels are joined with attention to pattern continuity, not just wall geometry.
From wall preparation and panel layout to matching the panoramic pattern and finishing junctions.
Before hanging the mural, we checked the wall plane, cleared the work area and protected the floor with sheeting to keep it clean while working with adhesive and wallpaper panels.
The panels were arranged in sequence so that trees and lighter areas aligned across adjacent sections without a visible shift.
The wallpaper was hung in stages, aligning each panel with the previous one and checking the seam, pattern direction and adhesion to the substrate.
After hanging, we checked the edges at the cornice, skirting, corners and electrical outlets, and the wall's overall appearance in daylight.