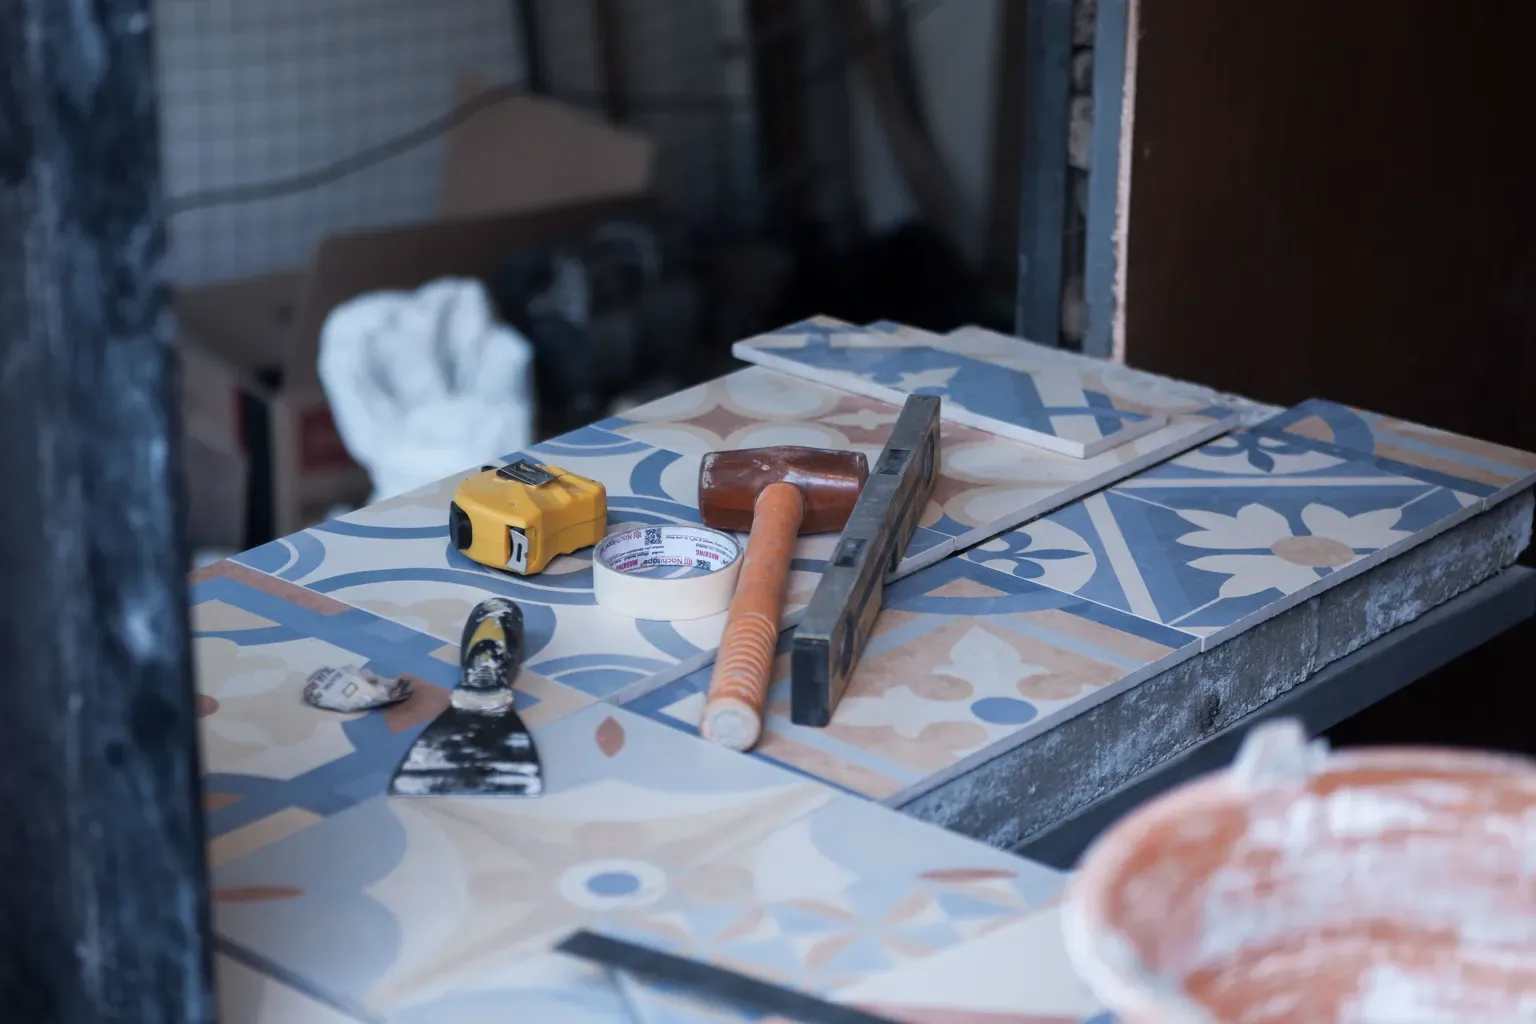

Tiles work well with underfloor heating, but saying tiles love warmth oversimplifies the task. The covering repeatedly heats and cools, so the whole assembly, including substrate, heating layer, adhesive, tiles and joints, must work together.
Most costly mistakes originate long before grouting. They arise when no one has agreed on floor levels, sensor position, heated zones, movement joints or the date of the first start-up.
Tiles and underfloor heating: one system
Joints, heating element positions, suitable adhesive and initial heating must be agreed before tiling.
Plan before tiling, not after grouting.
Decision 1. Plan the floor system before the tile layout
Before buying the floor finish, establish the total build-up thickness and the boundaries of heated zones. These affect thresholds, doors, junctions with other finishes, steps and sanitary fittings. If the large-format tiles and layout are approved first and heating is fitted in afterwards, junctions often have to be reworked.
For electric systems, mark out the cable, cold leads, sensor and thermostat in advance. For water-based systems, plan levels, the manifold arrangement and screed build-up. Electrical connections must be made by a qualified electrician.
Solution 2: do not run heating across structural movement joints
Guides for electric under-tile systems specifically prohibit routing heating cables across existing expansion joints and require those joints to continue through the tiled finish. The reason is simple: the joint exists to allow parts of the structure to move.
Bridging it with cable, adhesive and tiles creates a conflict between the heating system and structural movement. Heating boundaries and joint lines should therefore be shown on the same plan.
Decision 3. Leave room for thermal movement
Heating increases expansion and contraction cycles. An uncoupling membrane can help the system accommodate movement, but it does not replace perimeter and surface movement joints. Do not lock the finish in place with rigid mortar right up to walls, columns, thresholds or the edges of large floor areas.
Joint positions are coordinated with the room geometry and tile layout so that they look like an intentional part of the floor, not an arbitrary line added after a crack appears.
Decision 4. Choose adhesive for the system, not the word 'reinforced'
What matters on an adhesive pack is its intended use, class, permitted substrates and heating compatibility, not marketing wording. The specific system's technical data sheet takes priority over generic internet advice. The same applies to primer, levelling layers, membranes and grout.
If a system combines materials from different manufacturers, their compatibility must be checked separately. Even the most flexible product cannot fix weak or dusty screed.
Decision 5. The substrate must be ready before heating starts
Levelling, crack repairs and strength checks are carried out before laying the finish. Heating must not be used to accelerate drying in disregard of the materials' technical requirements.
Turning the heat up to make things dry faster is particularly risky. Screeds and adhesives have different curing times. Follow the heating system and building material manufacturers' instructions for the first start-up, not one fixed number of days for every property.
Decision 6. Large-format tiles need a flat substrate
Large-format porcelain tiles are often chosen over underfloor heating for their appearance and fewer joints. But they do not level a floor. Larger tiles make local height variations, lippage and insufficient adhesive contact more apparent and more critical.
Before laying, check flatness, choose suitable tools and verify actual adhesive coverage beneath the tile.
Decision 7. Initial heating is part of the process
Each system has its own requirements for testing cables and sensors, curing times and initial heating. Some ready-made electric systems, for example, specify a minimum waiting period before first use. It is wrong to apply that figure to every screed, adhesive or water-based circuit.
It is useful to record material names and application dates in the project documentation. Initial heating can then follow actual technical data sheets rather than the team's memory.
Solution 8: coordinate building services and finishing work in one schedule
When heating installation and tiling are carried out by different specialists, they need a clear handover record: levels, system tests, photos of routes, sensor positions, drilling restrictions and the date the next stage may begin.
At Monte Remont, building services and finishing work can be agreed as a coordinated set of tasks after assessing the property. There is no universal public price on the website: the scope and estimate depend on the substrate, area, system type and chosen finish.
Frequently asked questions
How many days after tiling can underfloor heating be switched on?
There is no universal waiting period. It depends on the adhesive, screed and specific heating system. Follow the strictest applicable technical instructions.
Is an uncoupling membrane needed over underfloor heating?
It can be a useful part of the system, but whether it is needed depends on the substrate, floor construction and chosen solution. A membrane does not replace movement joints.
Can you drill into a finished heated floor to secure furniture?
Without an accurate route plan, this is risky. For electric and water-based systems, record heating element positions before the floor is covered.